
Covid Cleaning Challenge Day 7: Grid Gallery Gallery Wall
- Palindrome Home
- Jul 16, 2020
- 4 min read
How to Create & Hang a Grid Gallery Wall
Y'all. I've never been more proud of myself in completing a project EVER. The grid gallery wall is definitely no unique way to take up space on the wall, but it really does make my heart happy to have photos of my family on the wall.
Every time I've ever needed to hang something, I have my mom hang it. That means that it sits on the ground until she comes to Texas. In fact, we tried to do the gallery wall last time she came but we just did not get around to it! So the fact that I did this ALL BY MYSELF is no small feat.
Below are the steps to making a gorgeous grid gallery wall in your home. There really wasn't anything on the internet that I could find that clearly showed how to do this. I had to use my brain and my mom told me how to do this easily! I hope this helps you!
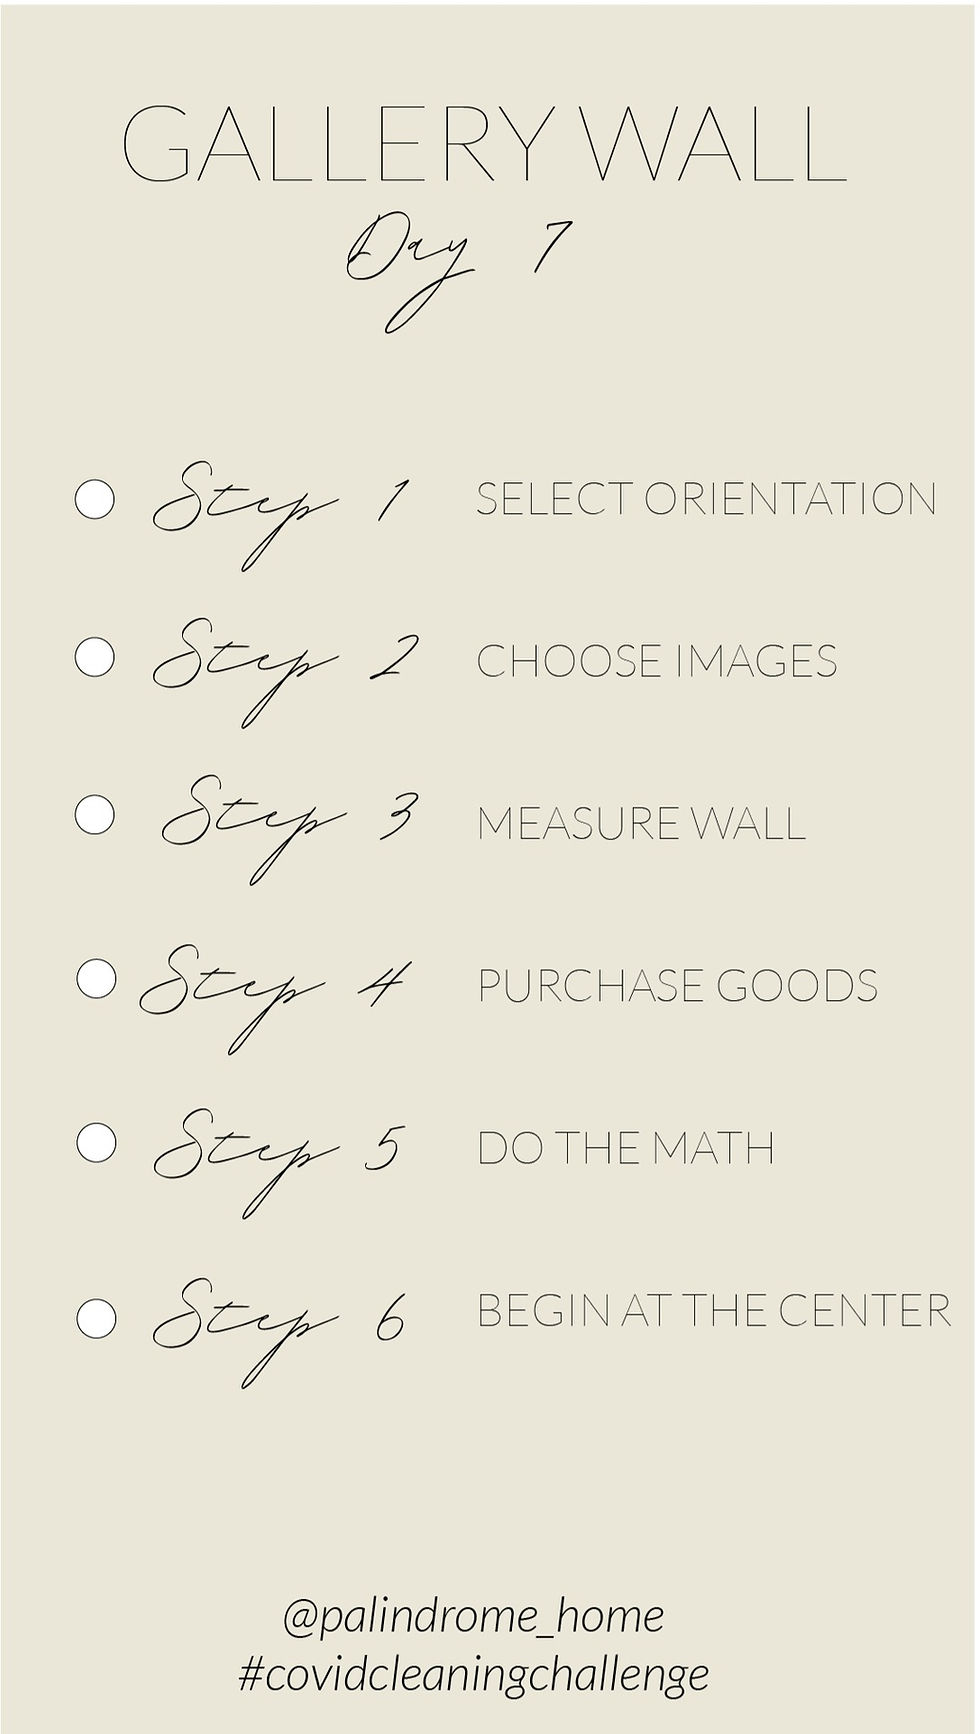
Step 1 SELECT ORIENTATION- The first step of creating a gallery wall is selecting the orientation (portrait or landscape) and size. I had more landscape images that I loved than portrait, so I decided to do landscape. Very often you will see nine portrait photos, but I wanted to be a little different. (In fact I almost started this whole project just doing eight on a completely different wall but I was persuaded by the hubs and friend to switch walls and up the anty to nine photos.)

Step 2 CHOOSE IMAGES- This may seem obvious that the second step is to select images but it's not necessarily about just having your favorite images but also having the color palette match. For example, I purposefully had our family lifestyle shoot use the same colors as our engagement photos and wedding photos. Mistake? I think not.
Tip: If you happen to have an image that does not match the same color palette you can always use a preset or even have a few photos in black and white! (I ran into this issue with my maternity photos not matching the color scheme and my friend recommended black and white)
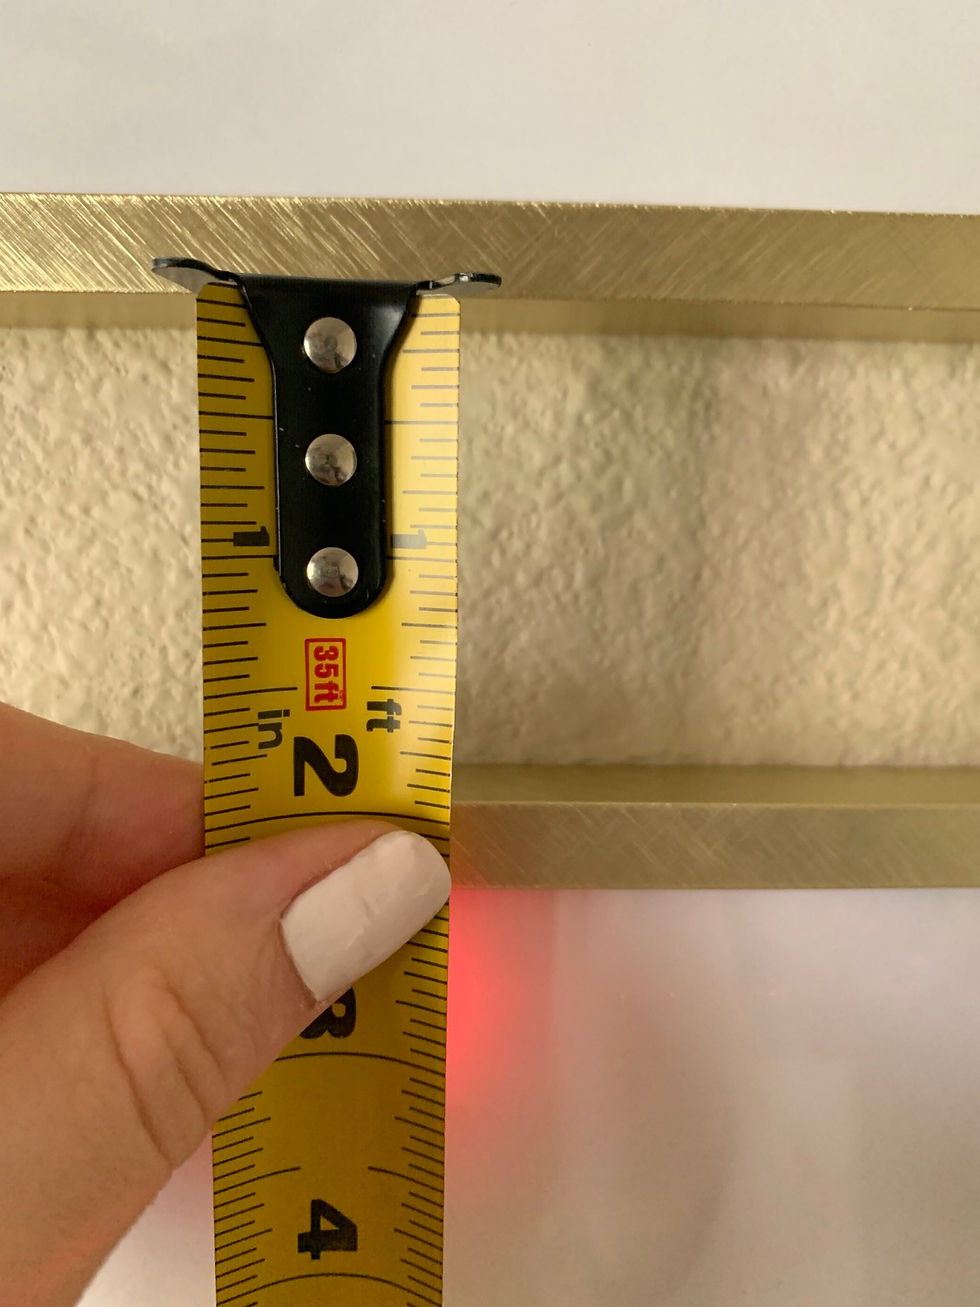
Step 3 MEASURE WALL - It's important before you purchase your frames, that you measure your wall and the furniture that the images will hang above. You want to make sure that your images do not go past the furniture on either side. Tip: If it's a close call make sure you have at least two inches between the frames.
STEP 4 PURCHASE GOODS- In order to do this project *right* without a billion holes in the wall you'll need a couple of things. I'll link what I used below:
-Tape measure
-Hammer
-Picture Hooks
-Laser Level (I got a cheap one that sticks to the wall from Amazon. I first ordered a different one and it was junk- this one was pretty good!)
-Frames (I got my frames from Target. They're 11x17 but matted to 16x20. They also come in 8x10.
-Images (I printed mine out via Amazon. I selected the "pearl" finish.
Step 5 DO THE MATH- This was by far the hardest part for me. My math teachers from high school would not be surpised-- lol!
Here are the steps:
A. Measure the wall. Make sure your furniture is in the center.
B. Measure the furniture. Put the dot in the very center SIX INCHES above the top.
C. Decide how many inches you want between each frame. I selected 2".
In order to find the dead center here is the math:
FRAME HEIGHT x NUMBER OF FRAMES + TOTAL INCHES BETWEEN FRAMES
(16 x3+4)+ 52
THEN DIVIDE IN HALF
52/2=26" *don't forget this is 26" above the dot you put for 6".
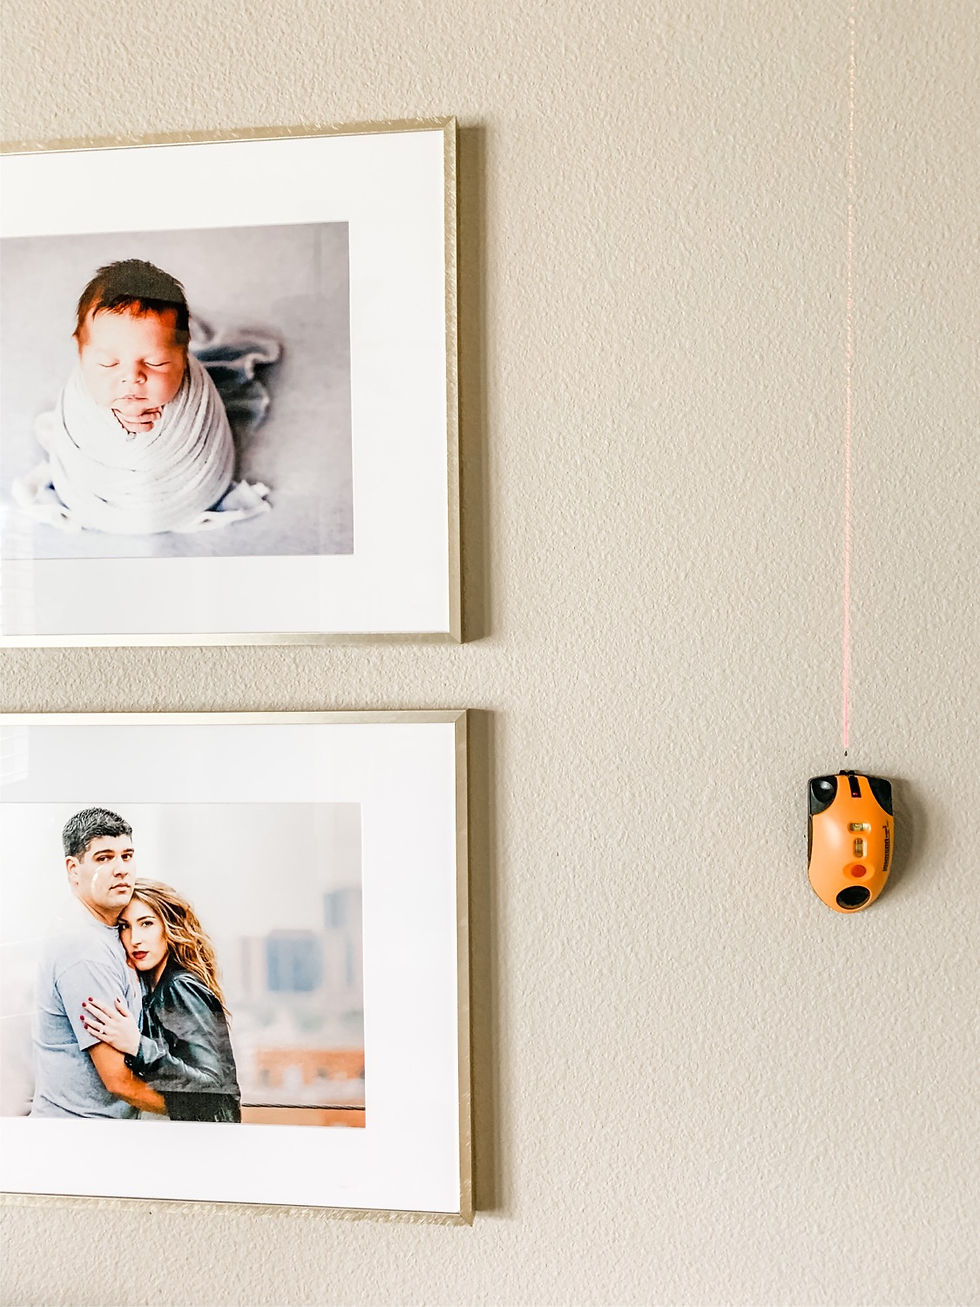
D. Work your way out with your laser level!
Step 6 - BEGIN AT THE CENTER
From your center point, use your laser level and a tape measure and work your way out on all sides.

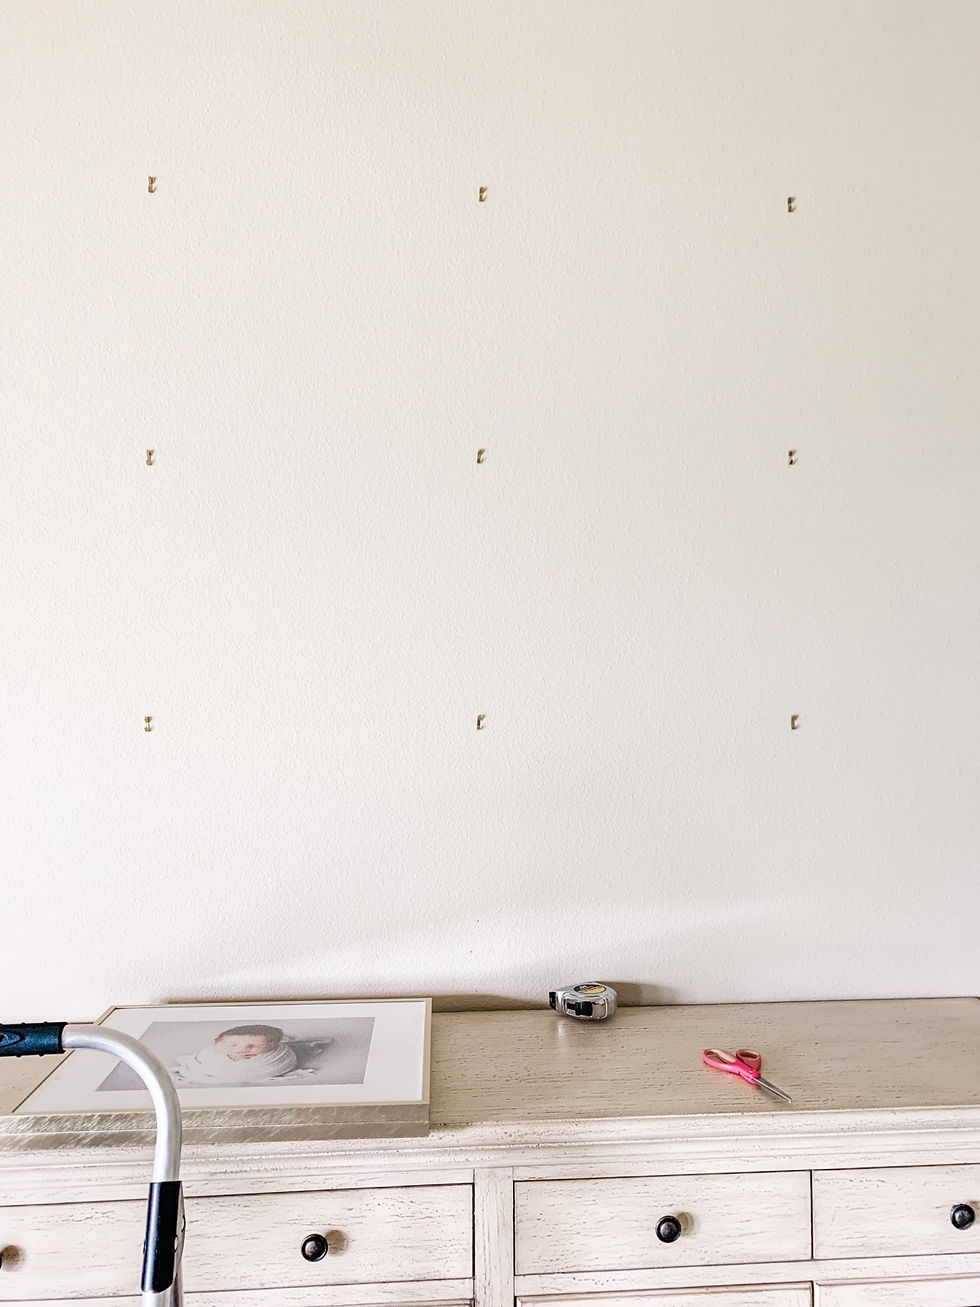
From the center work your way out both on the left and right side. Do not hang your pictures yet. Align all your dots with a pencil then hammer away.
ADD WIDTH OF YOUR FRAME + TOTAL INCHES BETWEEN FRAMES
(20 + 2 = 22" on both the left and right sides)
Then, from the center do the same thing but length wise:
ADD LENGTH OF YOUR FRAME + TOTAL INCHES BETWEEN FRAMES
(16 + 2) = 18" above and below all three center dots.
DO NOT FORGET TO USE YOUR LASER LEVEL! It's so important that this is lined up.
Once all your nails are in place, hang up your pictures!
Tip: If you do not have wire on the frame take the back of the frame (I did not) and pull the little metal piece out at the same angle (I did 90 degrees to make it easy.) that way all the pictures will be hung at the same level with the nail! When I first did this, I didn't pull them out at the same angle and it wasn't "perfect". I thought I had measured wrong or something! It was torture.
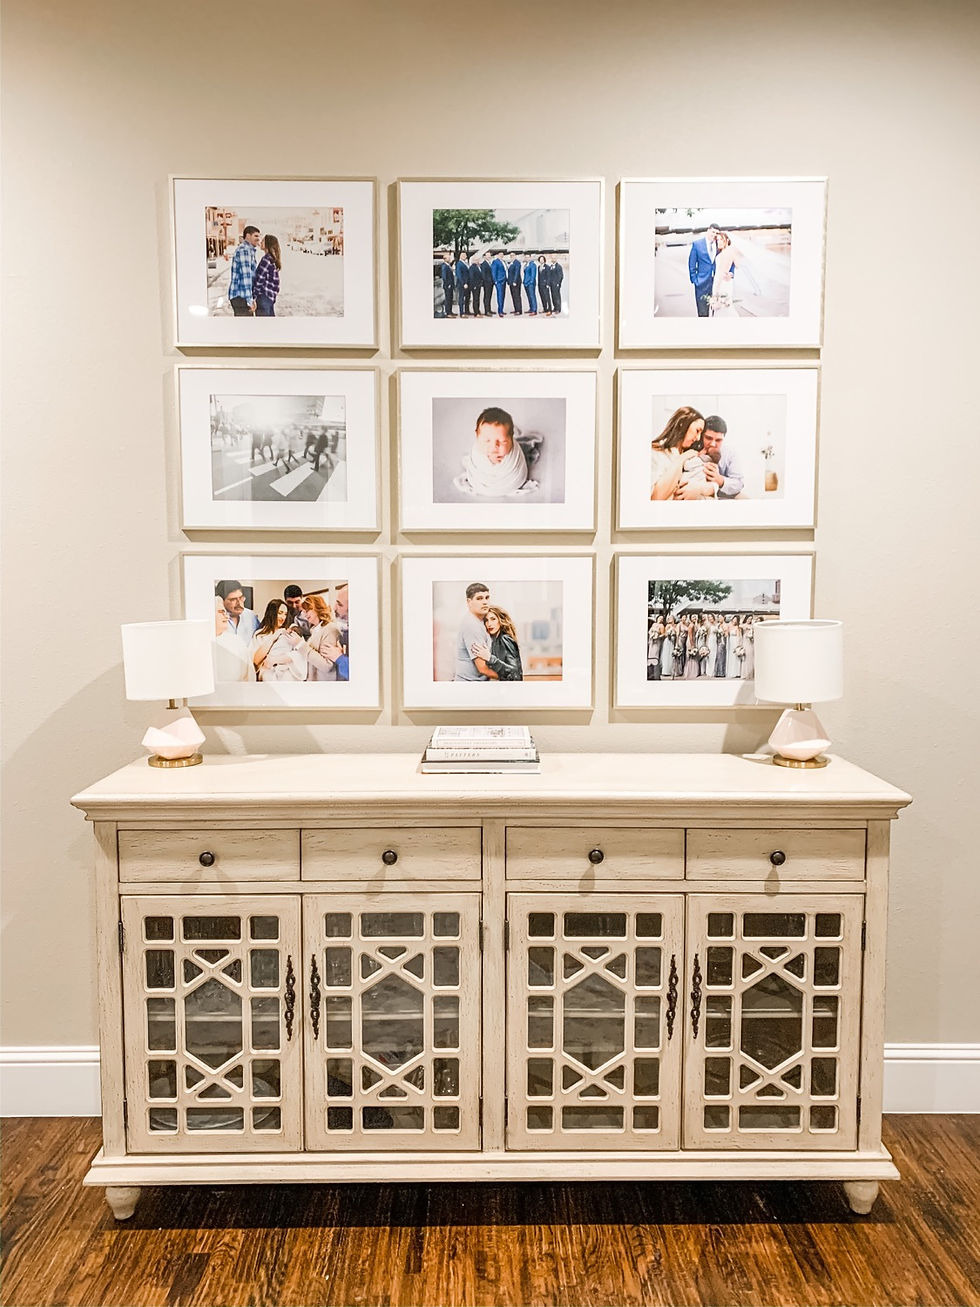
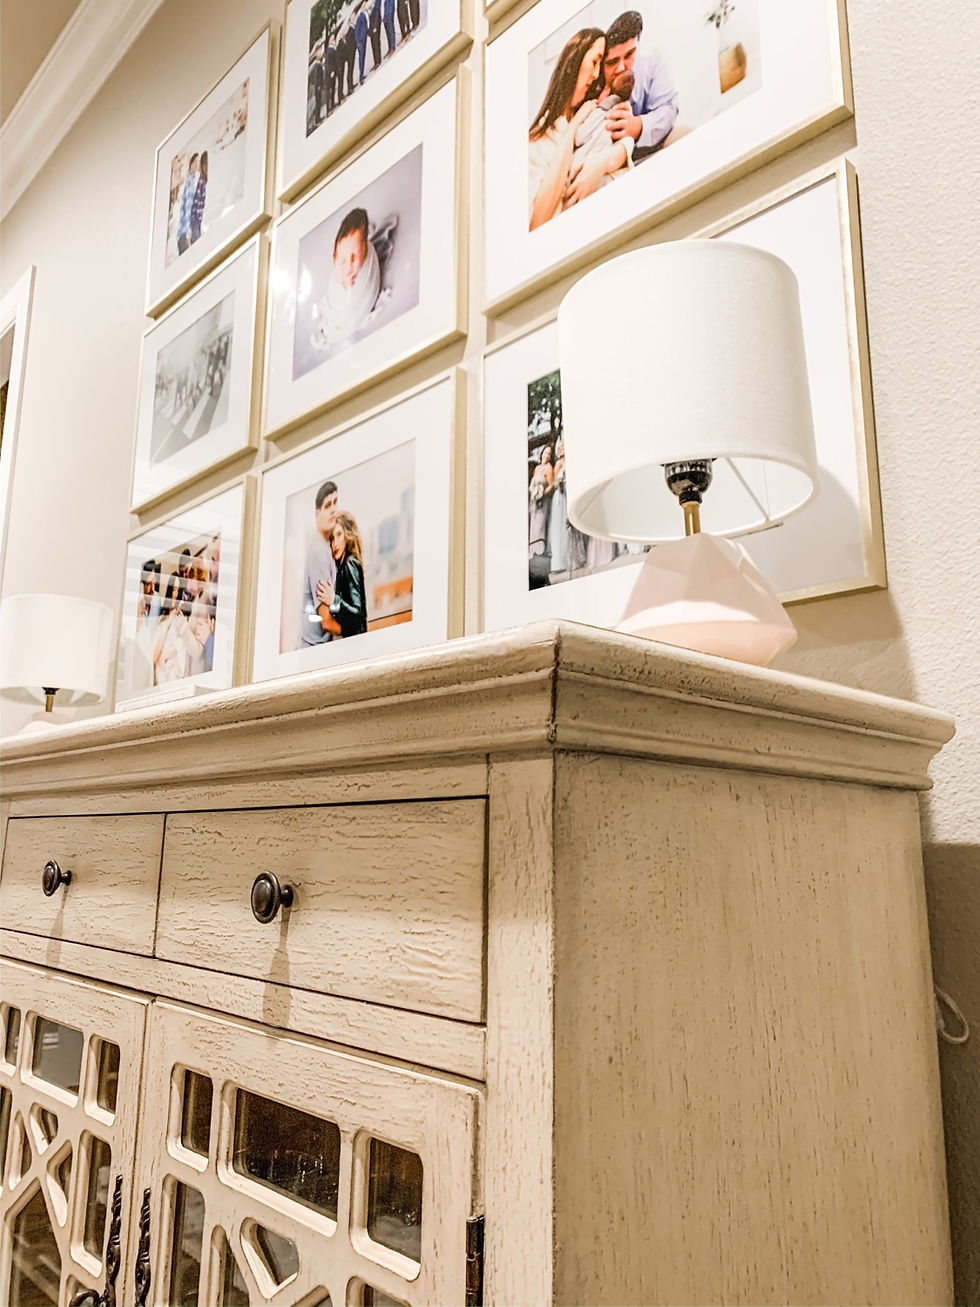
Anyway. There ya have it-- your grid gallery wall! <3 I hope you love it! Here are some pictures of the final product.


Comments